
Are you considering upgrading your roof to a metal roof? If so, installing a metal roof over existing shingles can be a great option. It will save you time and money while providing long-lasting protection for your home.
Here’s how to do it right:
Be sure to follow these steps for maximum results.
Step 1: Assess Your Roof
Before starting any work, assess the condition of your existing shingles roofing. Look for any signs of damage or areas that may need repair. Ensure that the roof structure can also support the additional weight of the metal roofing material.
Step 2: Gather Your Materials
Here’s what you’ll typically need:
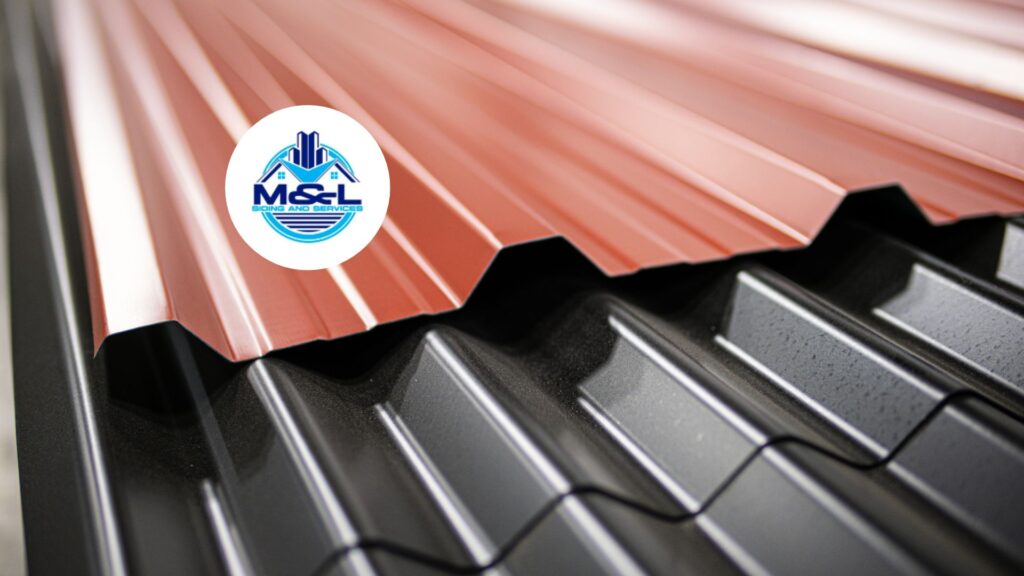
Metal roofing panels
Roofing underlayment
Screws and fasteners
Sealant
Roofing tools (screw gun, drill, snips, etc.)
Make sure to choose high-quality materials suitable for Southeastern Wisconsin’s climate to ensure durability and energy efficiency. Now is not the time to cheap out!
Step 3: Prepare the Roof Surface
Clean the existing roof surface thoroughly to remove debris, dirt, and any loose shingles. You should also inspect for any protruding nails or staples and remove them or hammer them down. Ensure that the surface is smooth and even before proceeding.
Step 4: Install Roofing Underlayment
Lay down a roofing underlayment over the existing shingles. This provides an additional layer of protection against water infiltration and improves the roof’s insulation. Secure the underlayment according to manufacturer instructions, typically using staples or nails. Read, read, read!
Step 5: Measure and Cut Metal Panels
Measure the dimensions of your roof to determine the size of metal panels needed. Use specialized roofing tools like snips or a metal cutting saw to cut the panels to size. Double-check measurements to ensure accuracy before cutting.
Step 6: Install Metal Roof Panels
Begin installing the metal roof panels from one side of the roof, working towards the opposite side. Start at the bottom edge and work upwards, overlapping each panel to ensure proper water drainage. Secure each panel with screws placed in the pre-drilled holes, ensuring they penetrate the roof decking.
Step 7: Seal and Secure
Apply sealant along the edges and seams of the metal panels to prevent water leakage. Pay special attention to areas around vents, chimneys, and skylights. Check for any gaps or loose screws and tighten or replace them as needed to ensure a secure fit.
Step 8: Finishing Touches
Once all panels are installed and sealed, perform a final inspection. Look for any areas that may need additional sealant or touch-ups. Clean up any debris from the installation process and ensure the roof is clear and safe.
While this can be a DIY project if you are skilled, you should still consider hiring a professional roofing contractor. They are more trained and knowledgeable on how to install metal roof over existing shingles. They can get the job done expertly while ensuring adherence to building codes and regulations.
In addition, professional contractors also offer warranties to protect your property. So let them take care of your metal roofing Mt Pleasant to Southeastern Wisconsin needs.
Compared to other roofing contractors in Southeastern Wisconsin, M&L Siding and Services has the expertise and experience to get the job done right the first time. Our team knows exactly how to install metal roof over existing shingles. Just reach out to us today for a consultation or estimate!